How to Turn a Photo Into a Coloring Page

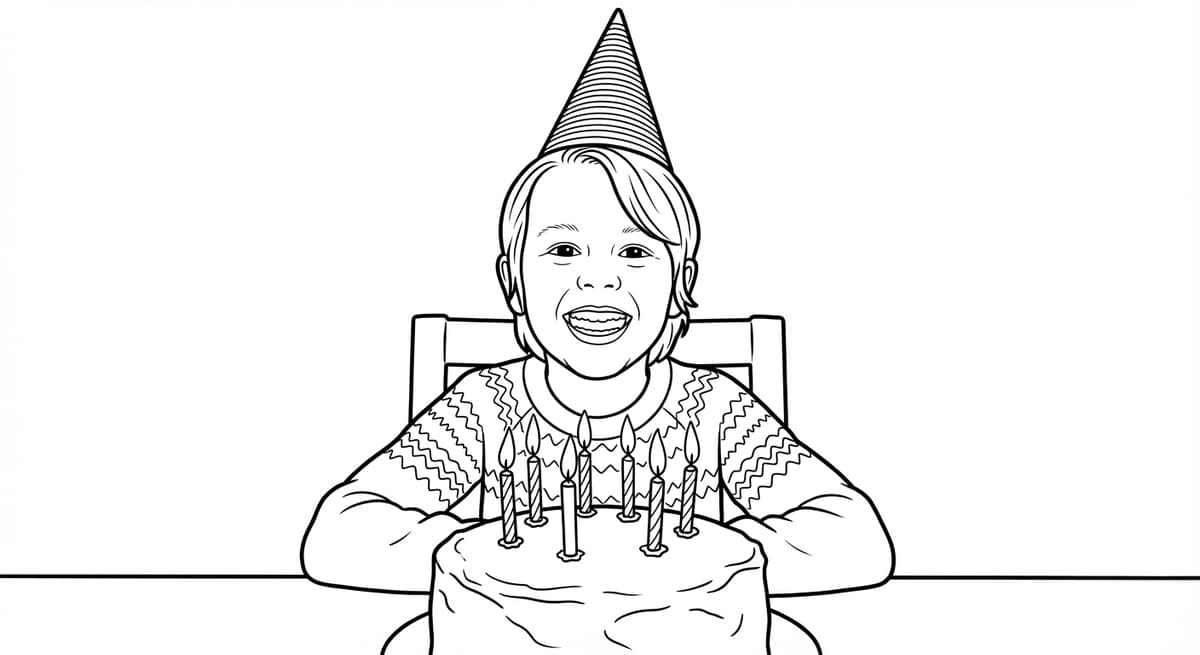
A good photo-to-coloring-page conversion is more than a black-and-white filter. The goal is clean line art with recognizable features, open spaces to color, and enough detail to feel personal without filling the page with visual noise. The steps below cover the full process, from picking the photo to printing the result.
1. Choose a photo with a clear subject
Start with a sharp photo in even light. The person, pet, or object should be easy to separate from the background. Faces work best when the eyes, nose, mouth, and outline of the hair are visible. Avoid heavy shadows across the face, strong backlighting, motion blur, and tiny subjects in the distance.
A simple background helps, but it is not mandatory. If the background is busy, crop tightly around the subject before uploading. Keep a little space around the head or object so the outline is not cut off. For group photos, fewer people usually means cleaner lines and larger coloring areas.
2. Decide how much detail you want
The right amount of detail depends on who will color the page. Preschoolers need bold boundaries and large open areas. Older children can handle clothing patterns, hair texture, and simple scenery. Adults may enjoy smaller sections and more background detail.
Your source photo controls much of that complexity. A close portrait against a plain wall creates a simpler page. A full-body photo in a garden creates more shapes to color. Pick the photo for the intended experience rather than assuming every image should keep every background detail.
3. Convert the photo with ChromaPrint
Upload the image to ChromaPrint and start the photo conversion. Generation usually takes about 15 to 30 seconds. The system turns the image into line art rather than asking you to trace it by hand. That makes it practical to create a single keepsake or a set of pages from several photos.
Review the result at full size. Look closely at eyes and facial features, the outline of the main subject, hands or paws, and any text or small objects in the background. A page can look fine as a thumbnail while still having crowded lines in an important area.
4. Fix common conversion problems
- The face is unclear: use a sharper, closer photo with softer, more even light.
- The page is too busy: crop closer or choose a photo with a plainer background.
- Dark clothing becomes a dense area: try a photo with more contrast between clothing, hair, and the background.
- Important edges are cut off: return to the original image and leave more room around the subject.
Changing the source photo is often faster than trying to rescue a difficult one. Two photos from the same moment can produce very different pages because focus, light, and composition matter.
5. Print one test page
Use standard white paper for crayons or colored pencils. If you plan to use markers, choose thicker paper and place a spare sheet underneath to catch bleed-through. Select your printer's high-quality or best setting if thin lines look faint. Keep the image fitted within the printable area so no edges disappear.
Print one test before making copies for a class or party. This catches low ink, unexpected margins, and paper-feed problems. For more classroom ideas, see the classroom coloring pages guide.
Useful ways to use the finished page
Turn a family photo into a rainy-day activity, make a page of the birthday child for every guest, create a pet portrait as a gift, or build a small coloring book from a trip. A close portrait and a scene from the same event can also work as a simple two-page set.
ChromaPrint includes 3 free pages. After that, one generation uses one credit. Current packs range from 10 credits for $5 to 500 credits for $100, and credits never expire. See the pricing page for all pack options.
Manual editing versus an AI converter
You can make line art manually in an image editor by lowering saturation, finding edges, cleaning stray marks, and redrawing missing features. That route gives you close control, but it also takes practice. Automatic conversion is useful when the goal is a printable activity rather than a hand-finished illustration.
Whichever method you use, judge the output as a coloring page rather than as a technical effect. Thin texture lines may look impressive on screen but become frustrating on paper. Clear shapes, recognizable features, and comfortable coloring spaces matter more than preserving every pixel from the photograph.
Privacy and permission matter
Use photos you have the right to upload, especially when children, clients, or students are pictured. For a classroom or group project, follow the organization's photo-consent rules and avoid placing children's full names on printed pages. If you share the finished page online, check the background of the original photo for addresses, school logos, badges, or other details you did not mean to publish.